Company settings
Avatar -> Company settings
This is where you manage all key setup details for your company, such as company information, preferences, team member accounts and default settings. Access to this page is restricted to Admin users only.
Team
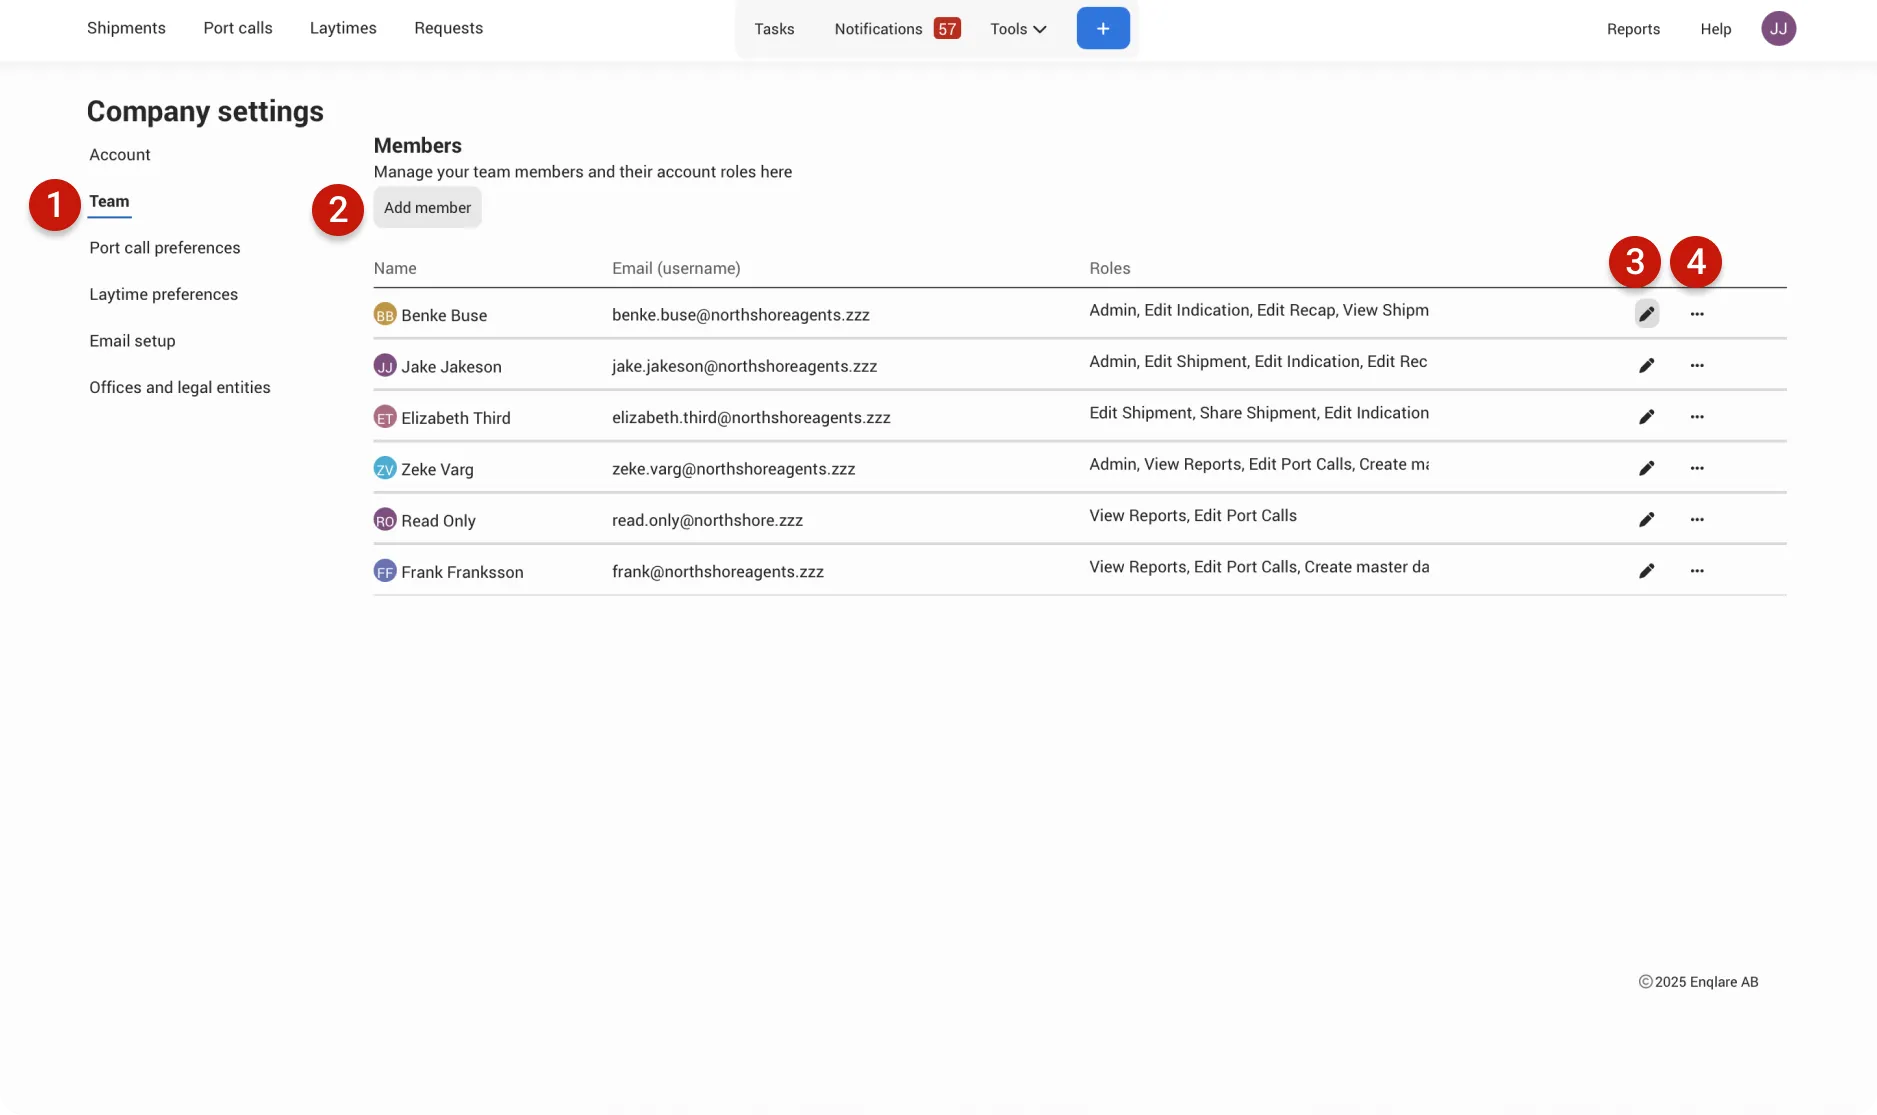
- Team: manage your company’s user accounts. Add new members, edit details, disable or delete accounts.
- Add member: Enter information and set up a team member account.
- Edit: Update a team member’s details.
- More menu: Request a new password or resend the welcome email.
User roles
General | |
|---|---|
Admin | Full read and write access to the Company settings page. |
Create master data | Can create and edit items in Master data. |
Port call | |
|---|---|
Edit Port calls | Can create and edit Port calls, with read-only access to Master data. |
Laytimes | |
|---|---|
Edit Laytime Calculation | Can create and edit Laytime Calculations |
Edit Laytime Collection | Can create and edit Laytime Collections |
Shipments | |
|---|---|
Edit Shipment | Can create, update, and manage shipment details. |
View Shipment | Can see shipment details but cannot make changes. |
Share Shipment | Can share a shipment with other companies that have an Enqlare account. |
Edit Indication | Can create and update indications within a shipment. |
View Indication | Can view indications but cannot edit them. |
Edit Recap | Can create and update recaps for a shipment. |
View Recap | Can view recaps but cannot edit them. |
Edit Operations | Can create and update operations details for a shipment. |
Finance read | Can view finance data related to a shipment but cannot make changes. |
Finance write | Full access to create, edit, and update finance data for a shipment. |
Rports | |
|---|---|
View Reports | Can view reports from the Report module. |
Email setup ✨
Connect your Gmail or Outlook account to receive and manage emails directly within the Enqlare platform. By linking your email account, emails are automatically connected to the right context, keeping all relevant information in one place. You can reply, forward, and track emails without leaving the platform. Enqlare uses Nylas as our email integration provider to ensure secure, reliable, and seamless connectivity.
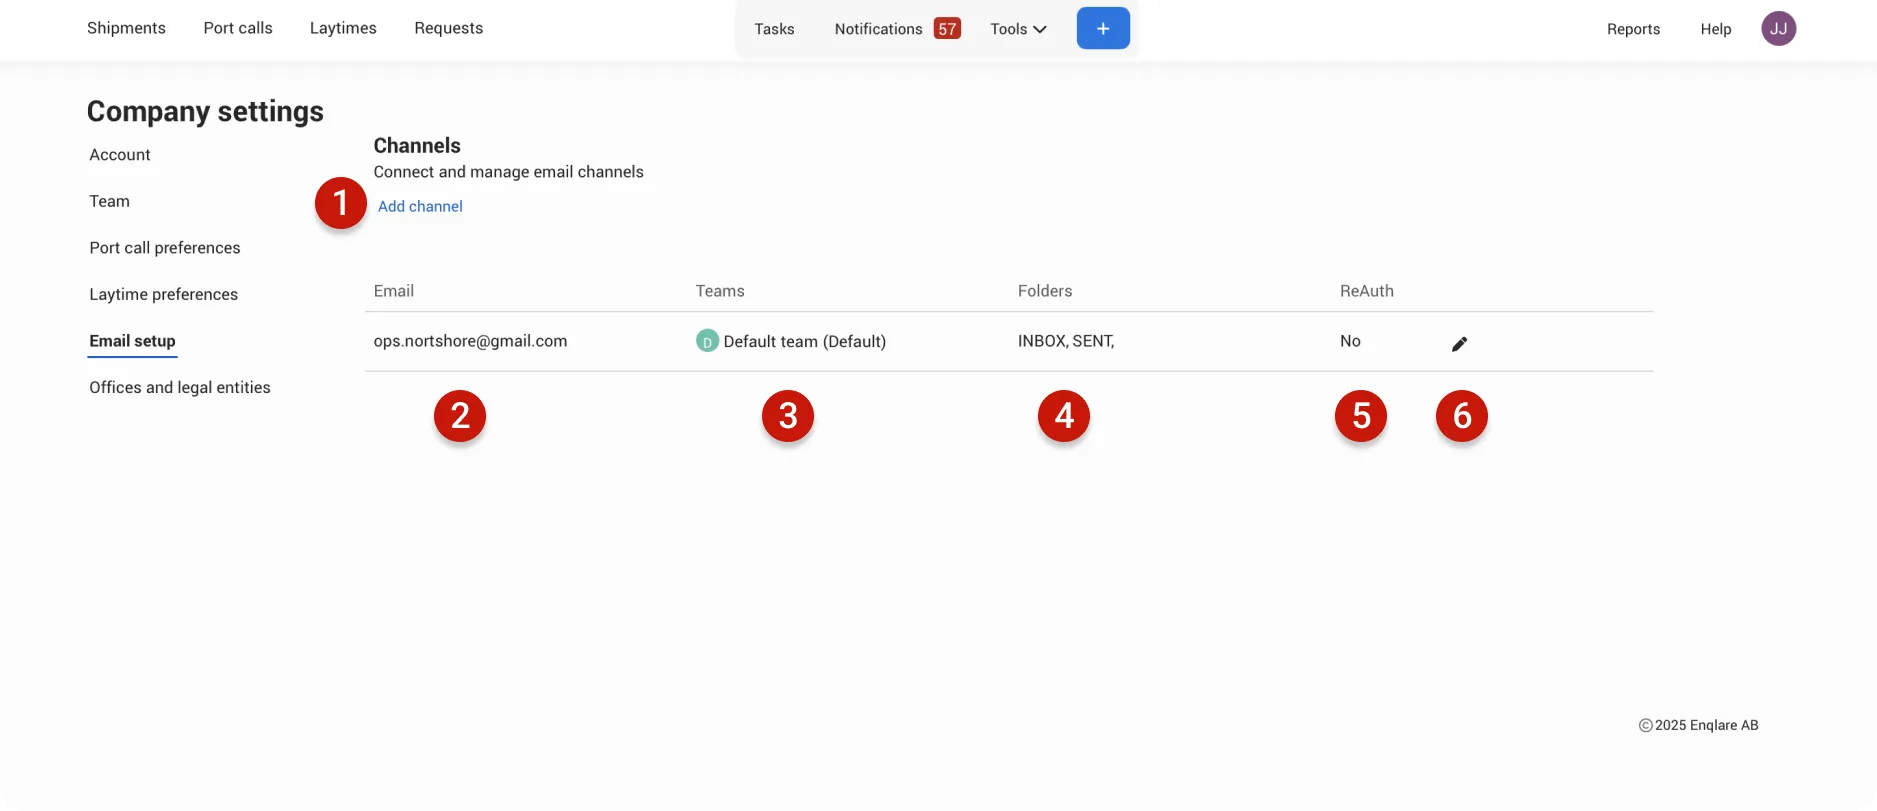
- Add channel: Link your Gmail or Outlook account to Enqlare to start sending and receiving emails within the platform.
- Email: Displays the connected email account.
- Teams: Shows which teams have access to send emails from the connected account.
- Folders: Lists the email folders synced to Enqlare. You can choose which folders to sync and which to exclude.
- Auth: Indicates if your account requires reauthentication.
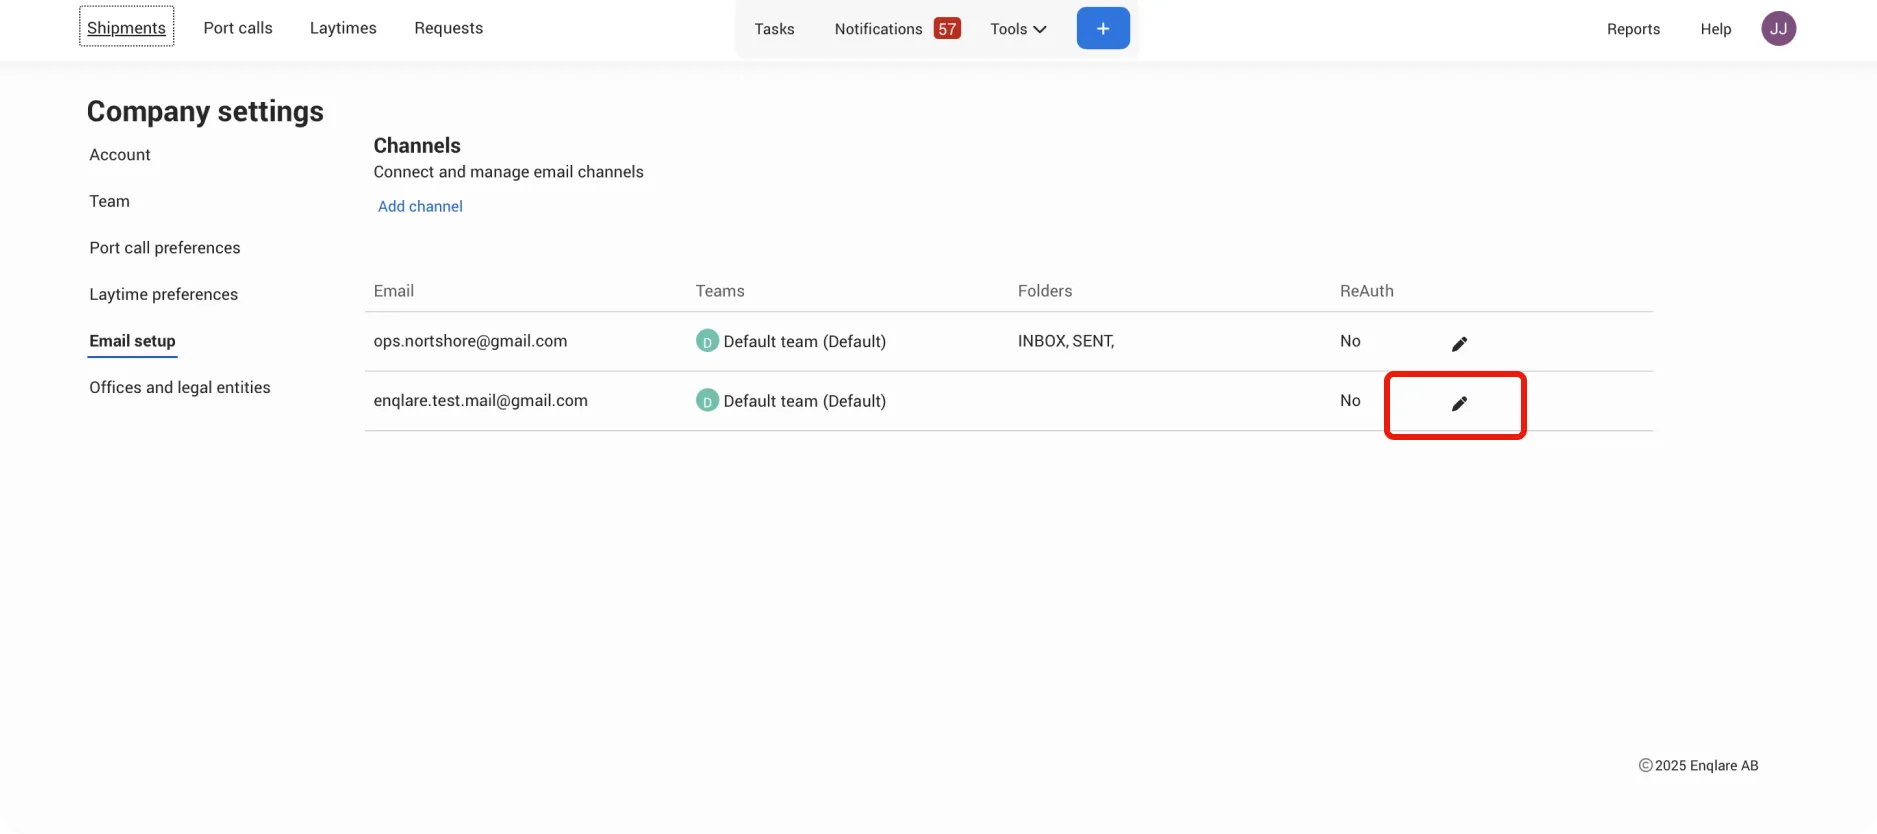
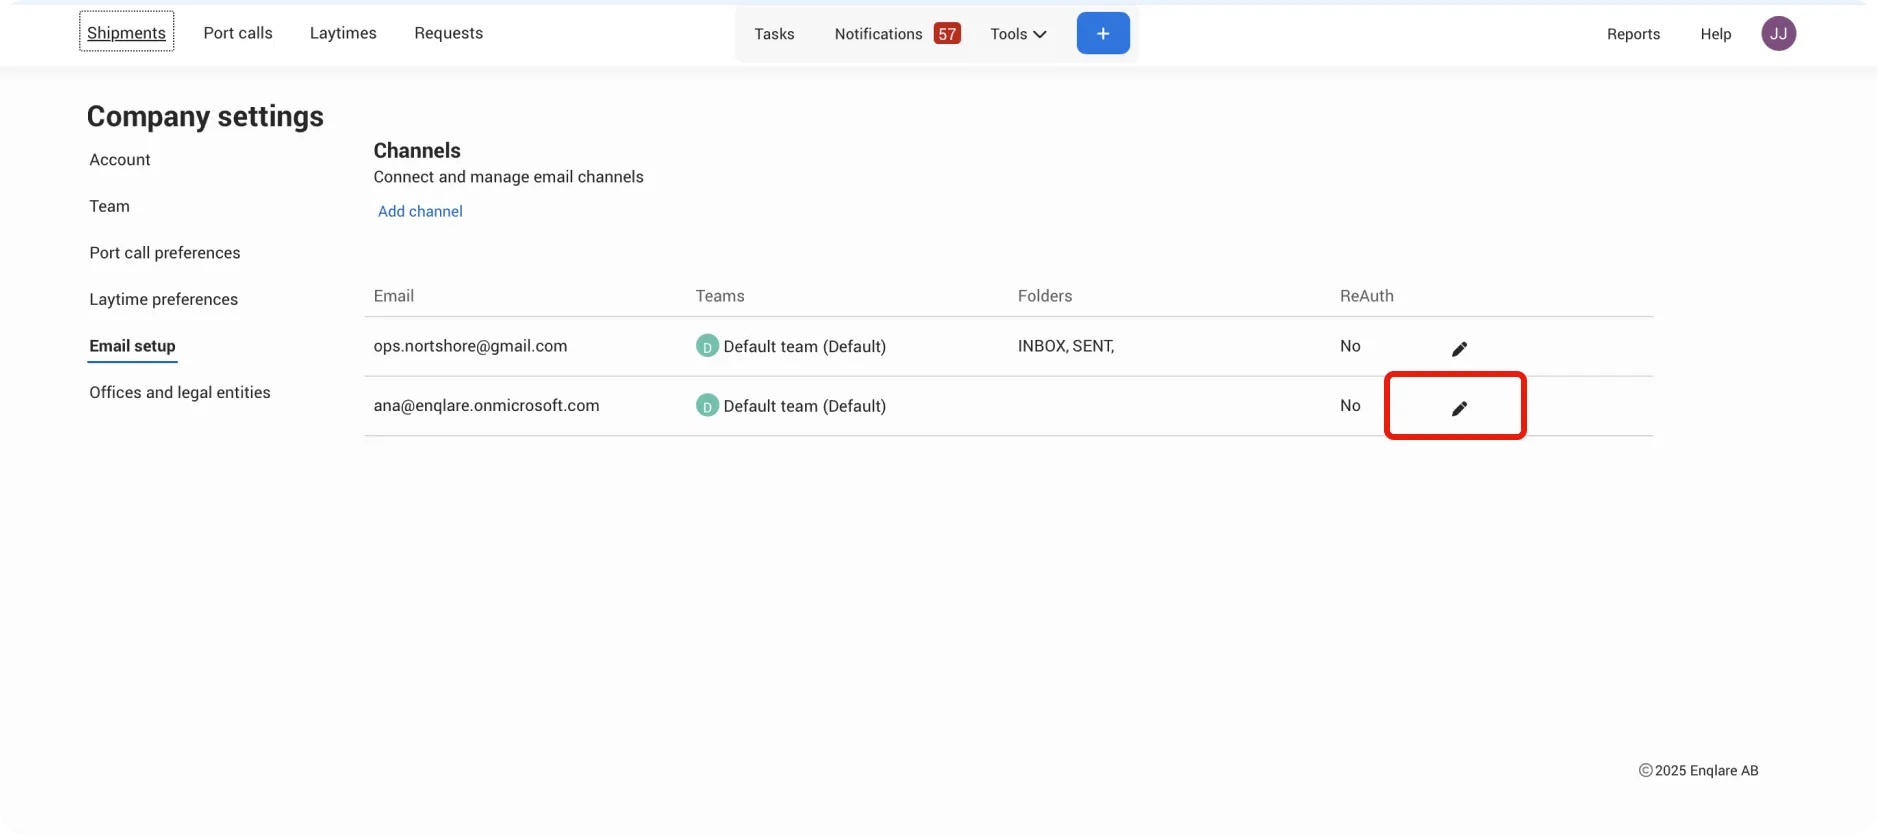
- Edit: Manage the connected email account, adjust synced folders, or disconnect the email.
Gmail
Click Add channel
Select Continue with Google
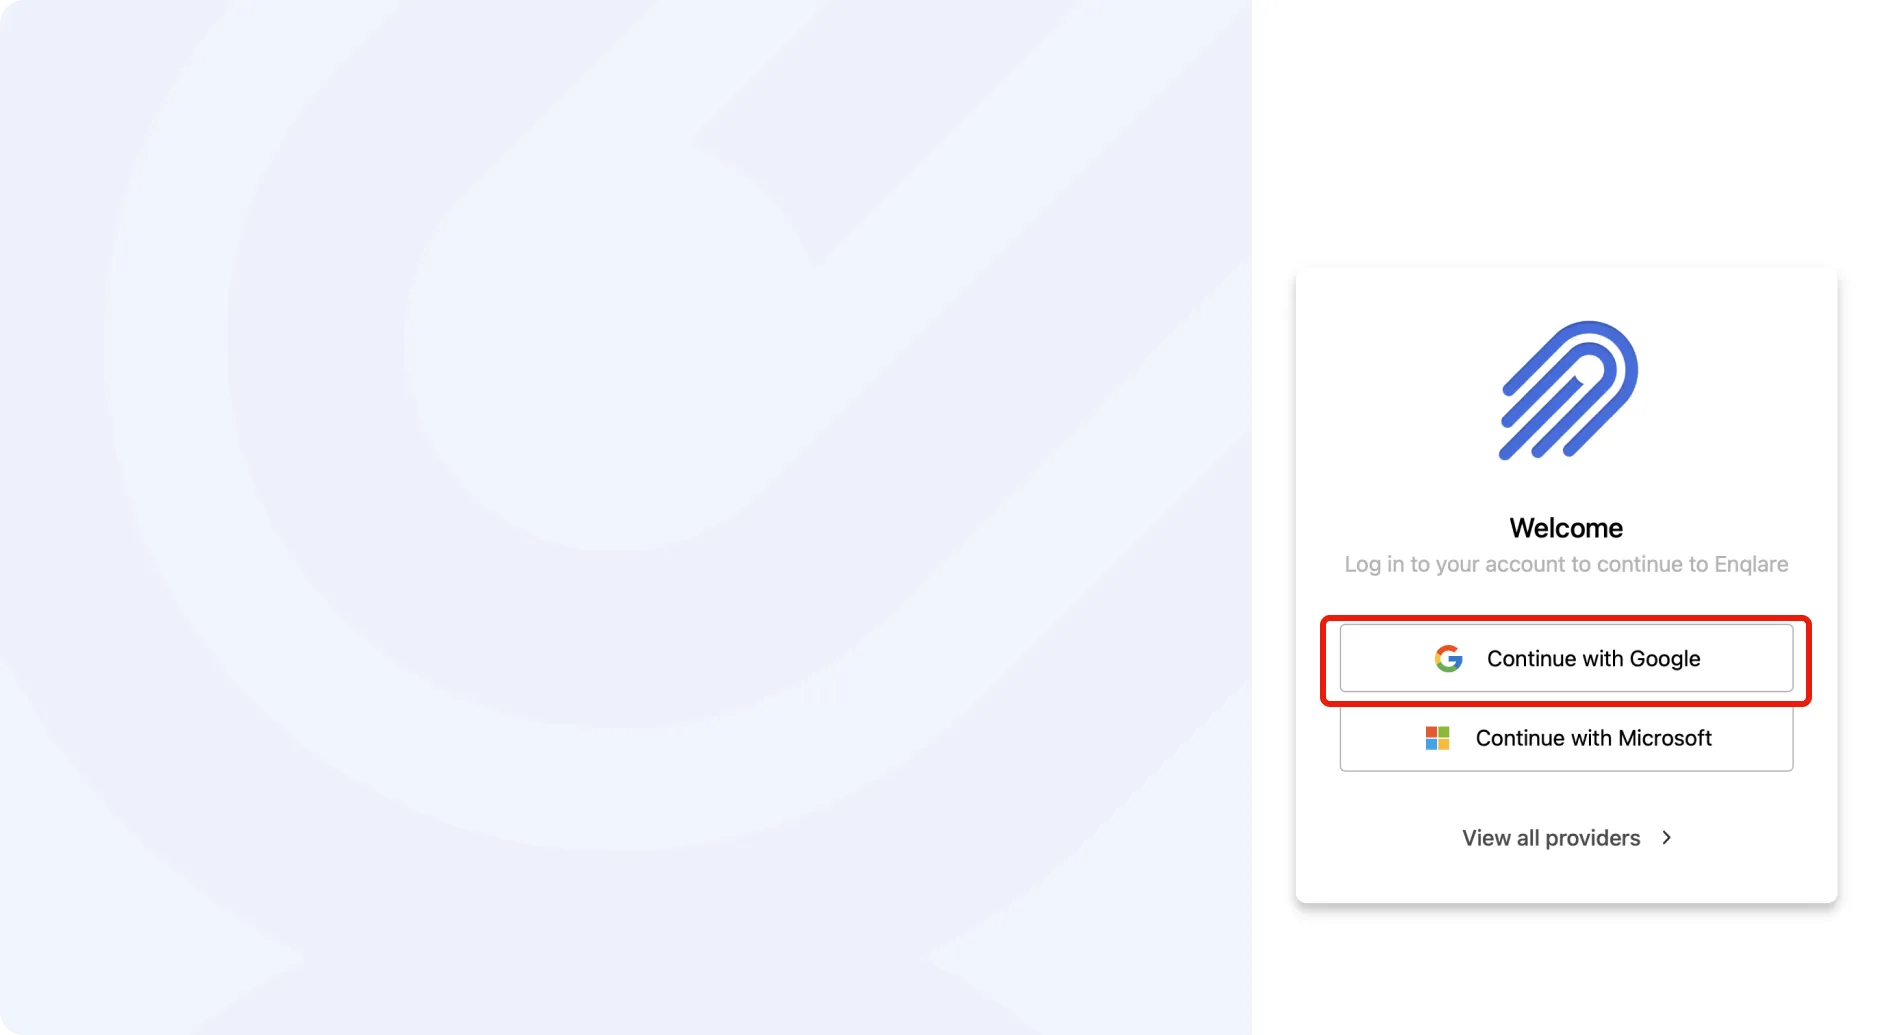
Enter your email username and password to authenticate and connect your account.
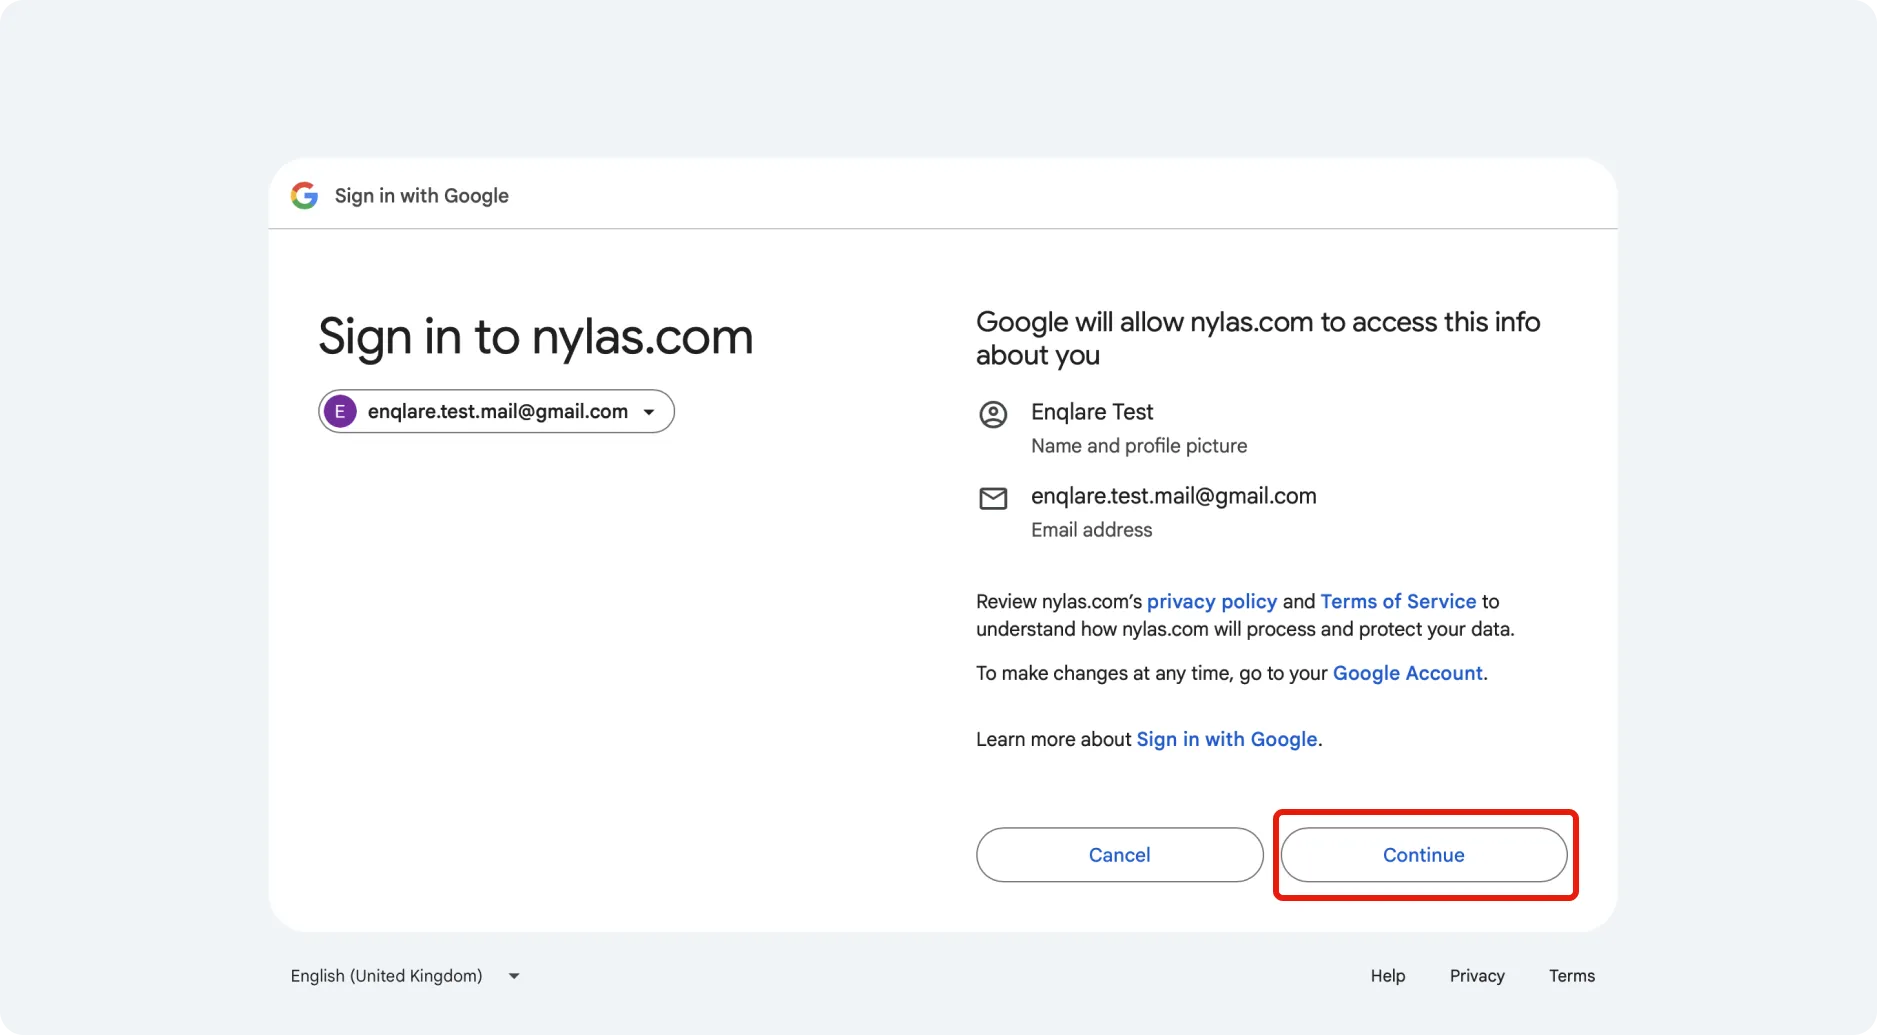
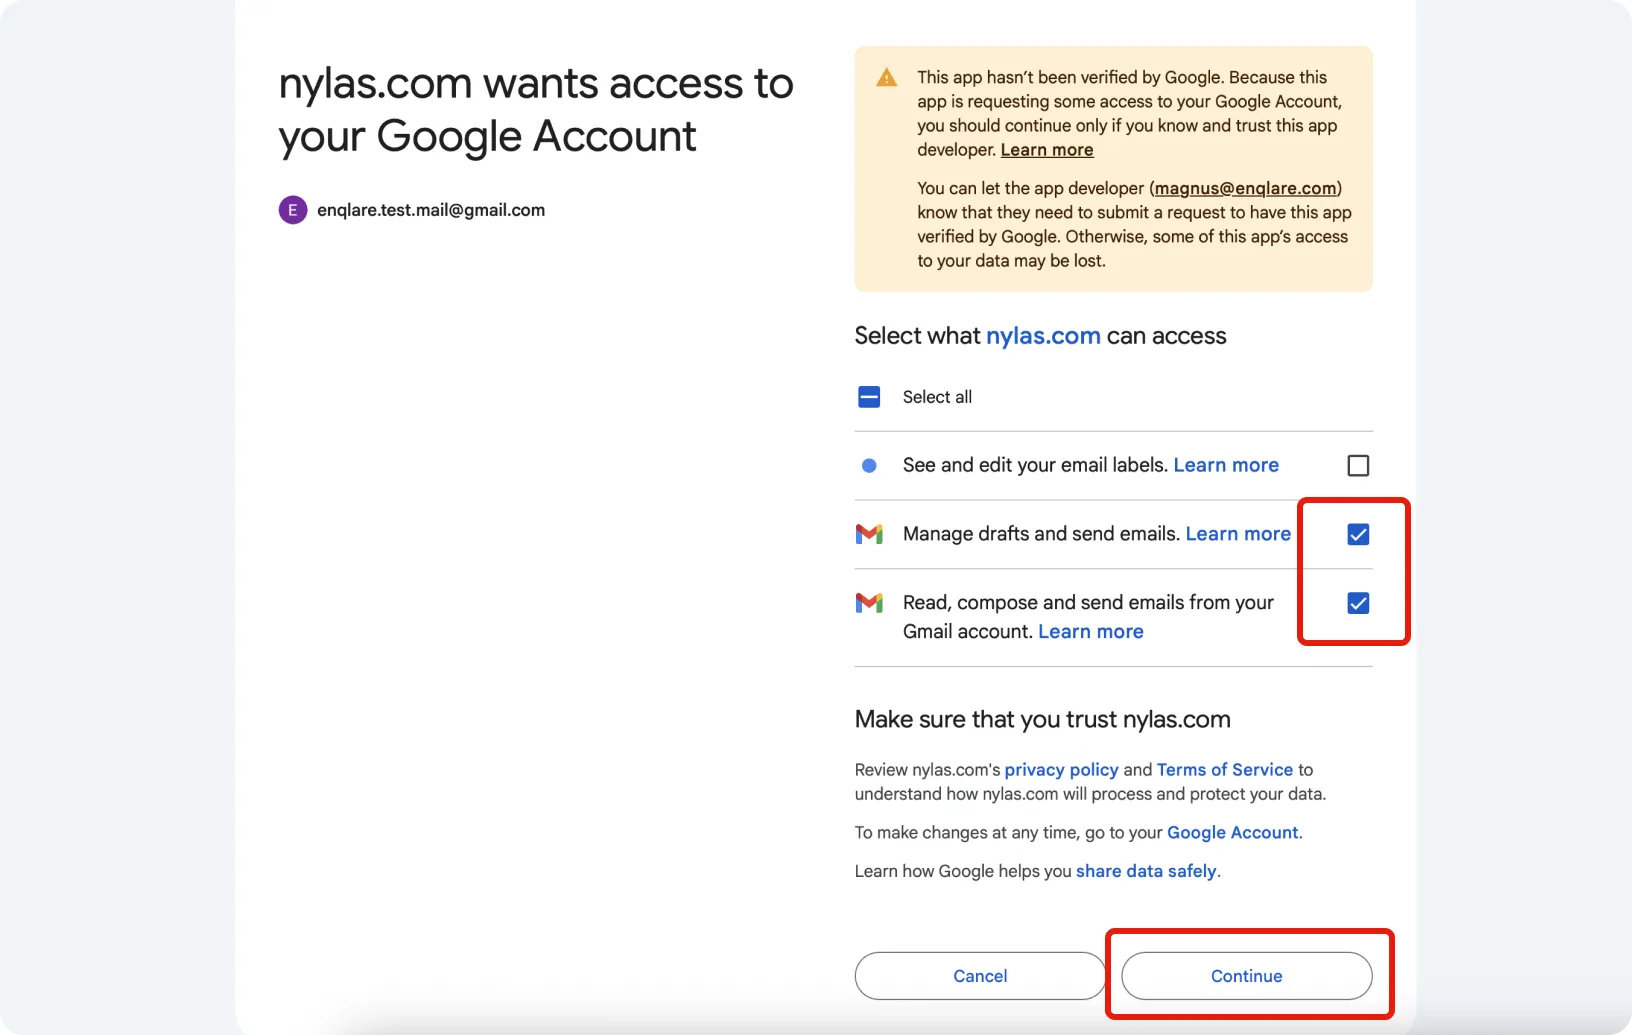
Choose which permissions or access levels you want to grant to Enqlare for the connected email account.
Edit the newly added channel to select which folders you want to sync. We recommend syncing Inbox and Sent folders so you have access to both incoming and outgoing emails directly within Enqlare.
Once you save your settings, the system will begin syncing emails from the selected folders. This process may take a few minutes. Once synced, you can view your emails under Notifications.
Outlook
Click Add channel
Select Continue with Microsoft
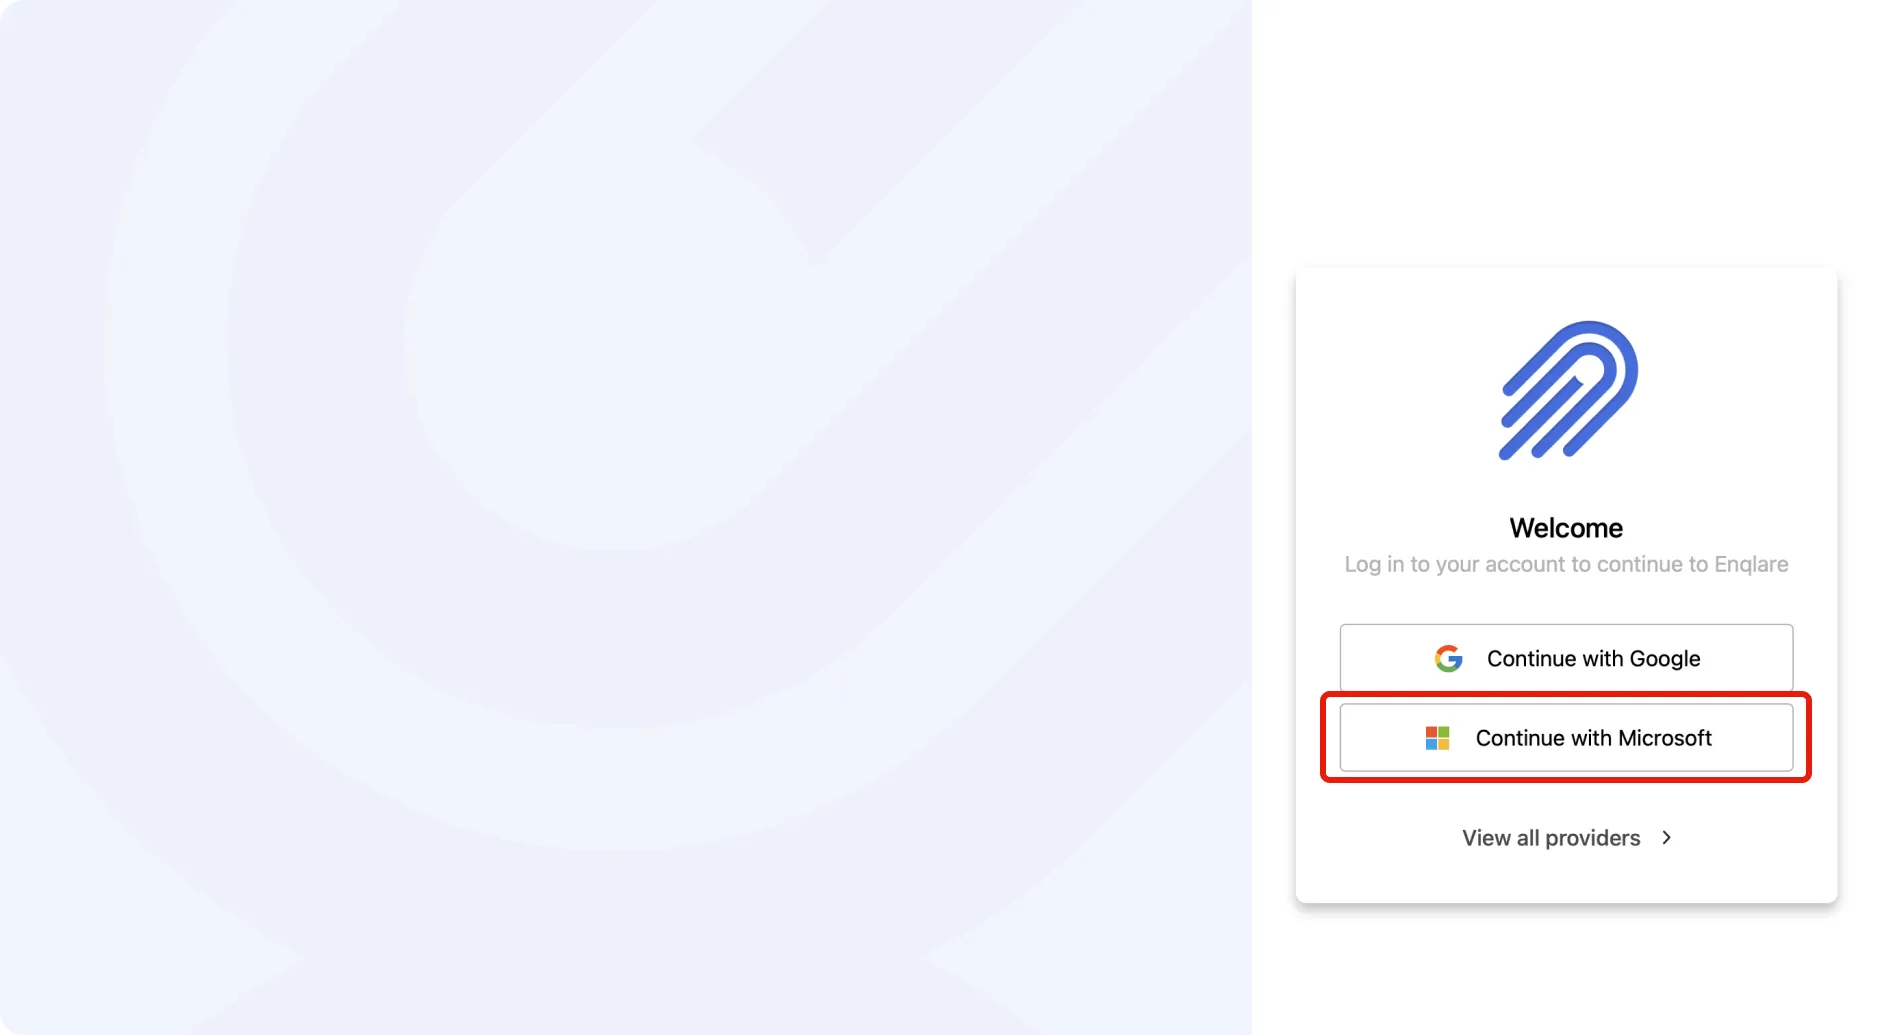
Enter your email username and password to authenticate and connect your account.
Edit the newly added channel to select which folders you want to sync. We recommend syncing Inbox and Sent folders so you have access to both incoming and outgoing emails directly within Enqlare.
Once you save your settings, the system will begin syncing emails from the selected folders. This process may take a few minutes. Once synced, you can view your emails under Notifications.
If you experience issues connecting your Microsoft account, it may be because the “Enqlare Email" application has not yet been approved. In this case, your Azure administrator will need to grant permission for the application in the Microsoft Azure admin console. Once approved, you should be able to connect your Microsoft account without any problems.
Offices and Legal entities
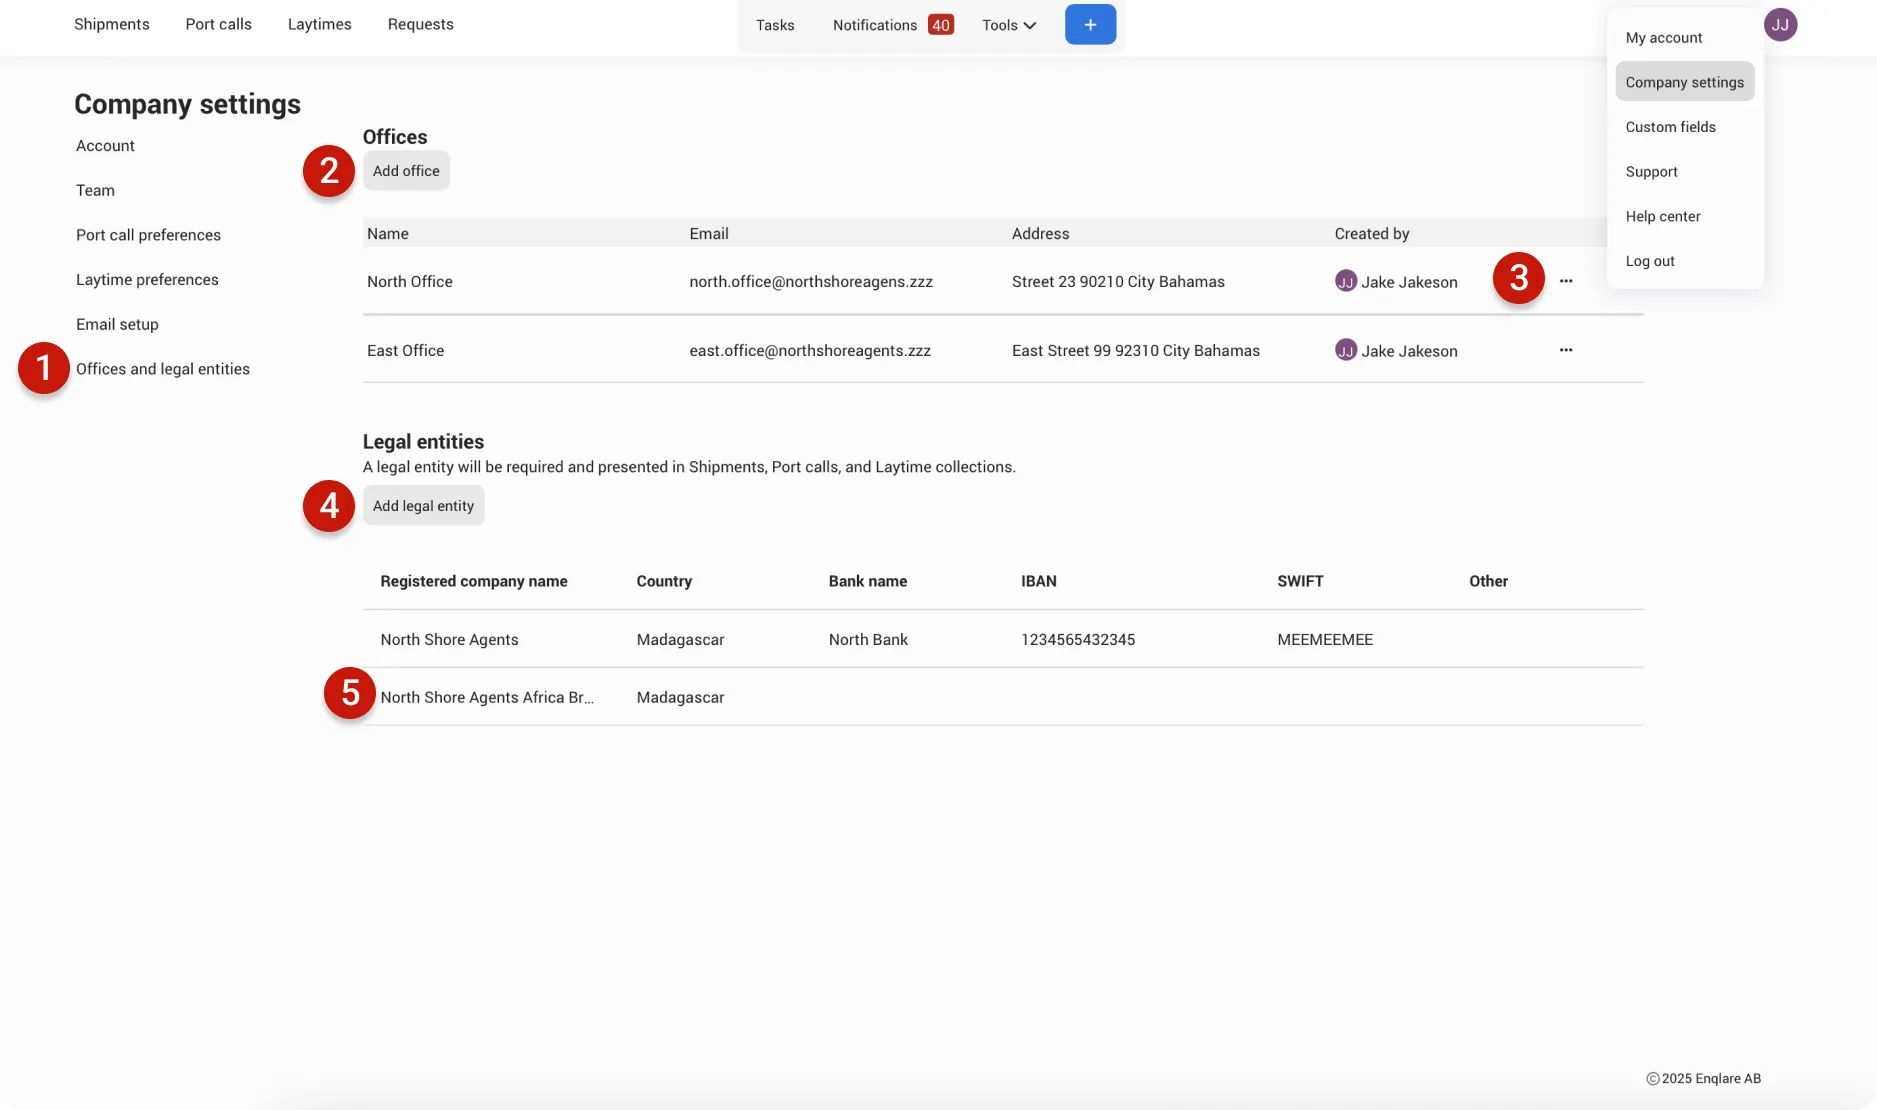
- Offices and legal enitites: Use this section to add, edit, or delete offices and legal entities.
- Add office: Add an office if you have multiple offices using the platform. This helps you filter overviews and view only the data relevant to each office.
- Edit/Delete Office: You can edit or delete an office at any time.
- Add legal entity: Add all legal entities that your company operates under. When creating a Laytime, Port Call, or Shipment, you’ll be able to select from the legal entities listed here.
- Edit legal entity: Click on a row to edit the details of a legal entity. Note: once added, a legal entity cannot be deleted. To remove one, please contact support.